 FALCON AI
SETUP GUIDE
FALCON AIRAPTOR runs MNQ on the 15-minute. TITAN runs it on the 30-minute. Pick one path below. Ten minutes.
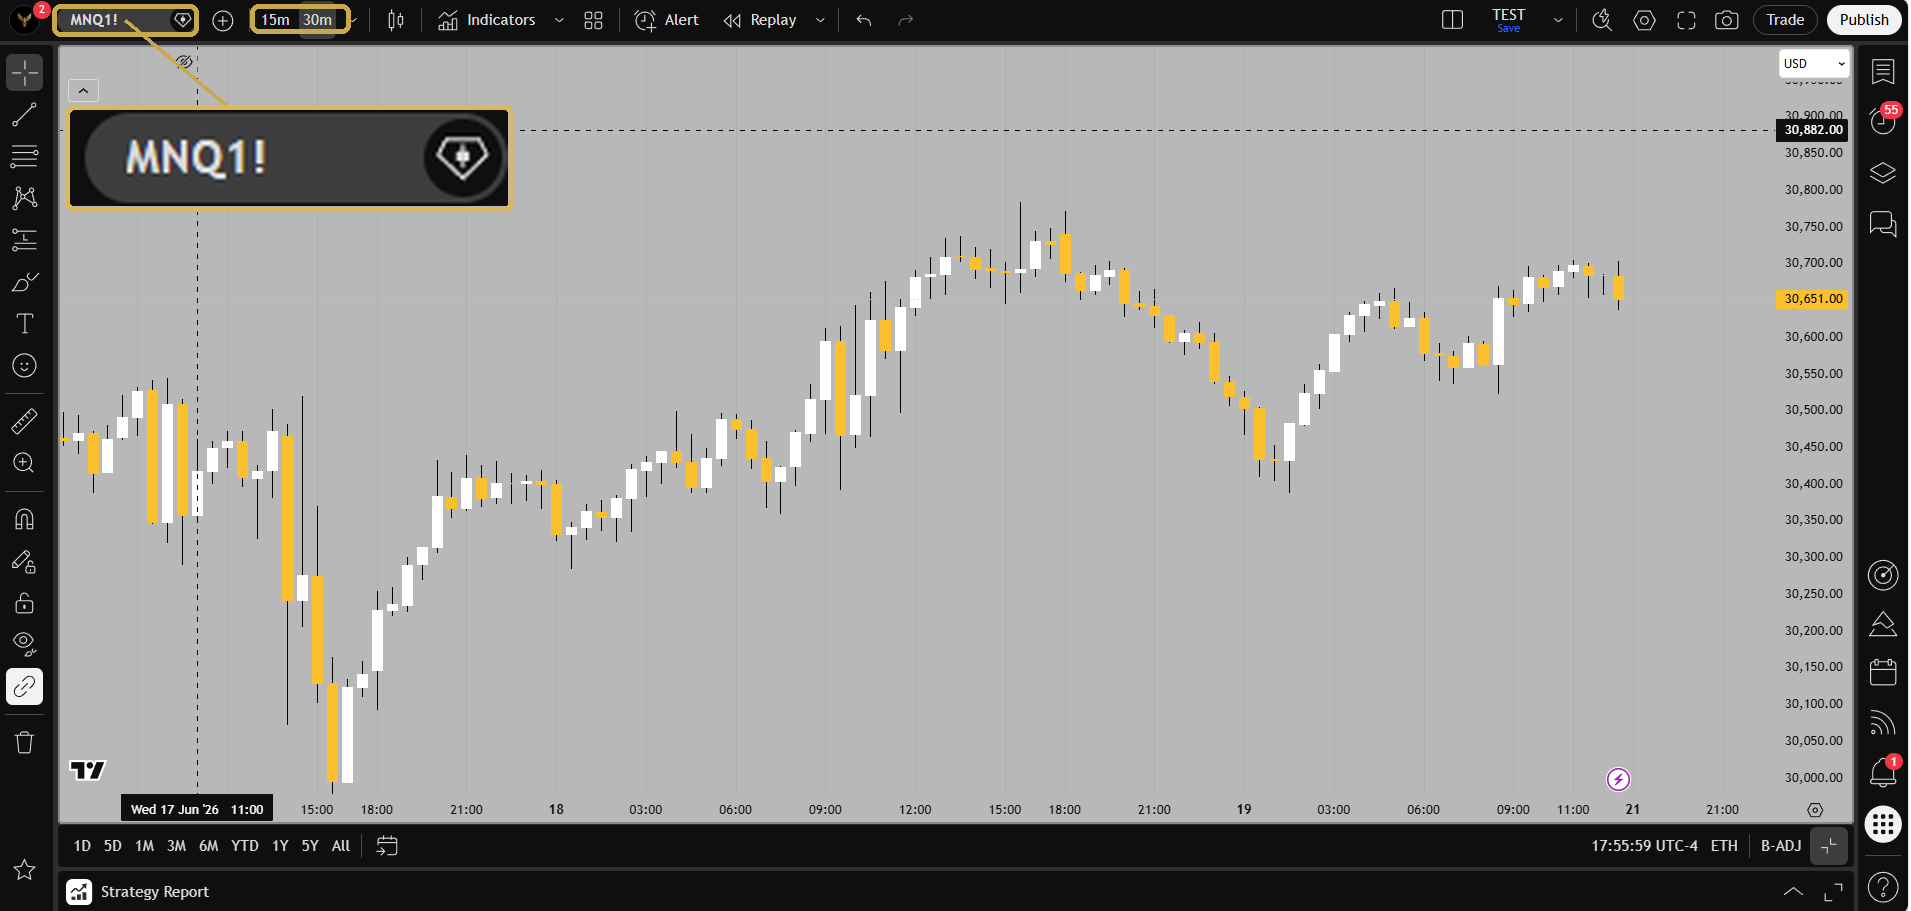
CME_MINI:MNQ1! at 15-minute or 30-minute. Set your chart timezone to US Eastern.N-TALON is Nasdaq on the 5-minute. G-TALON is gold on the 1-hour. Same file, two charts. You get both.

CME_MINI:MNQ1! at 5-minute. Gold: COMEX_MINI:MGC1! at 1-hour. Timezone US Eastern.G-SAKER is gold on the 1-hour. N-SAKER is Nasdaq on the 1-hour. Two or three setups a week. You get both.
COMEX_MINI:MGC1!. Nasdaq: CME_MINI:MNQ1!. Both on 1-hour. Timezone US Eastern.Elite runs Falcon directly inside NinjaTrader — no webhook, no third-party copier, no monthly bridge. This is the full screenshot walkthrough, from a fresh install to a live strategy on practice mode. Never used NinjaTrader? Every step is spelled out, and new terms are explained right where you need them.
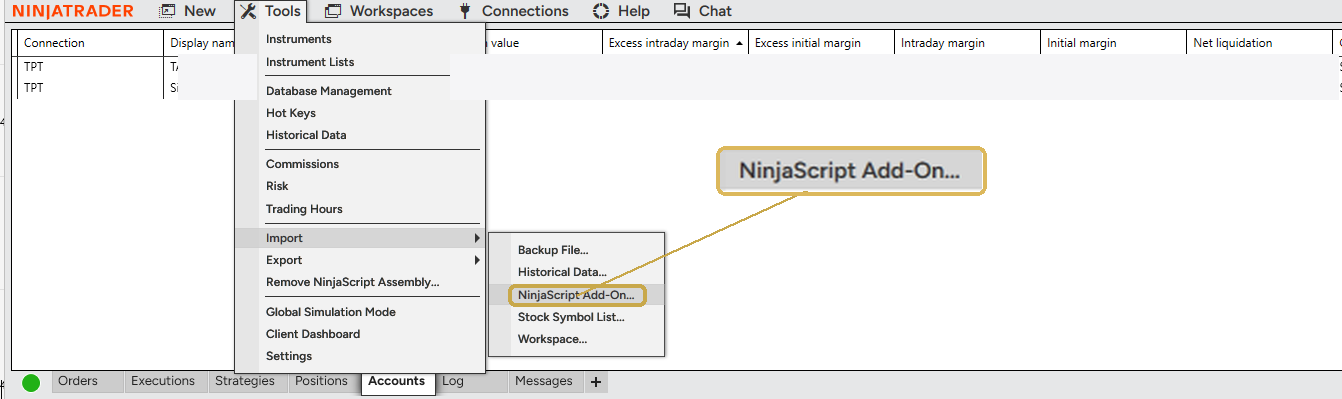
Tradovate sends no real-time data and no trades until you sign your Non-Professional Agreement. Log into Tradovate, and on the Market Data Subscriber Certification, choose Non-professional → Next. It's free — this is the single most common "why isn't my data live?" cause.
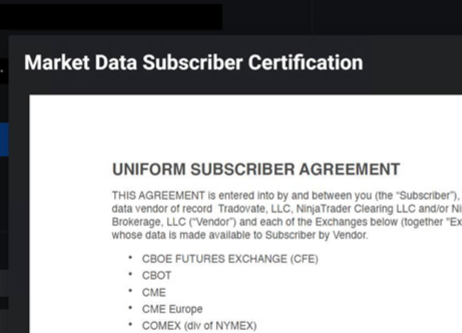
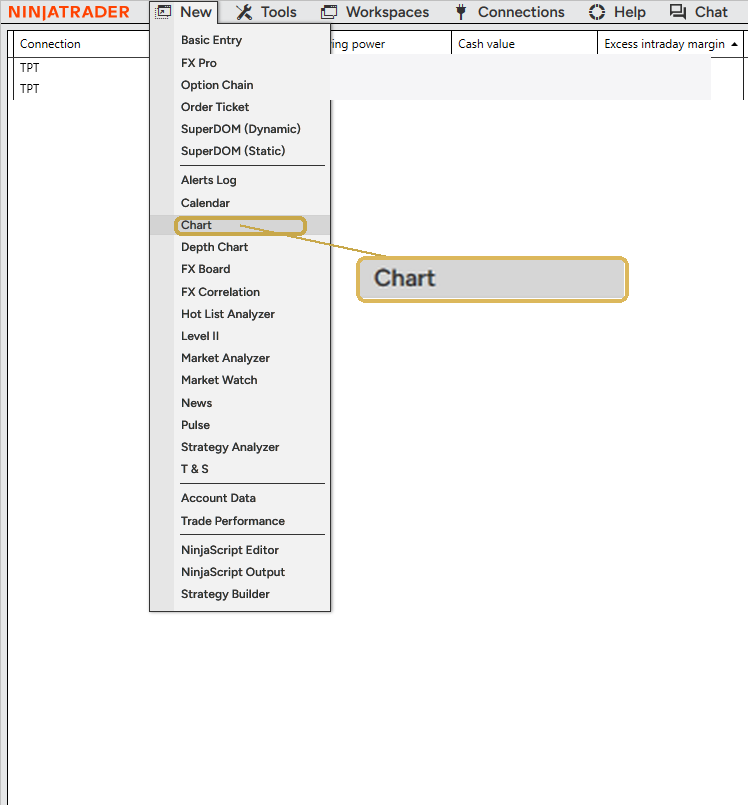
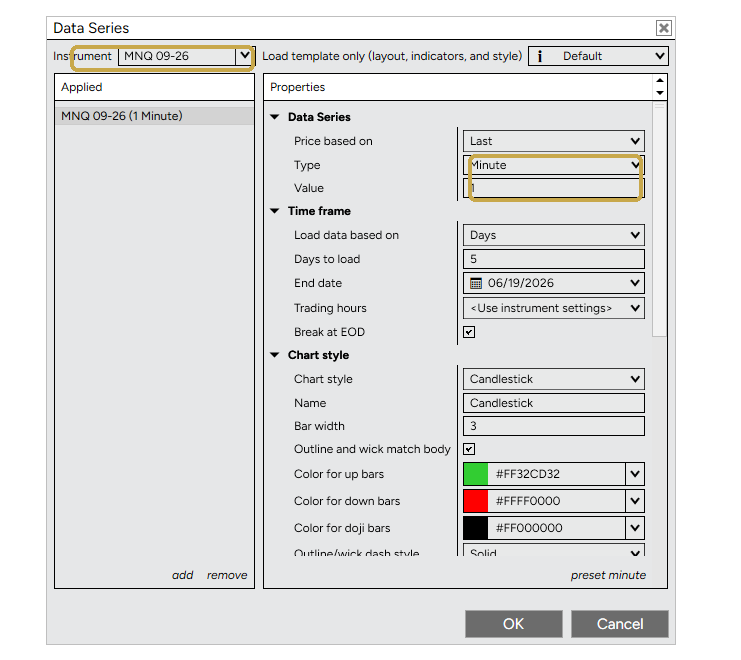
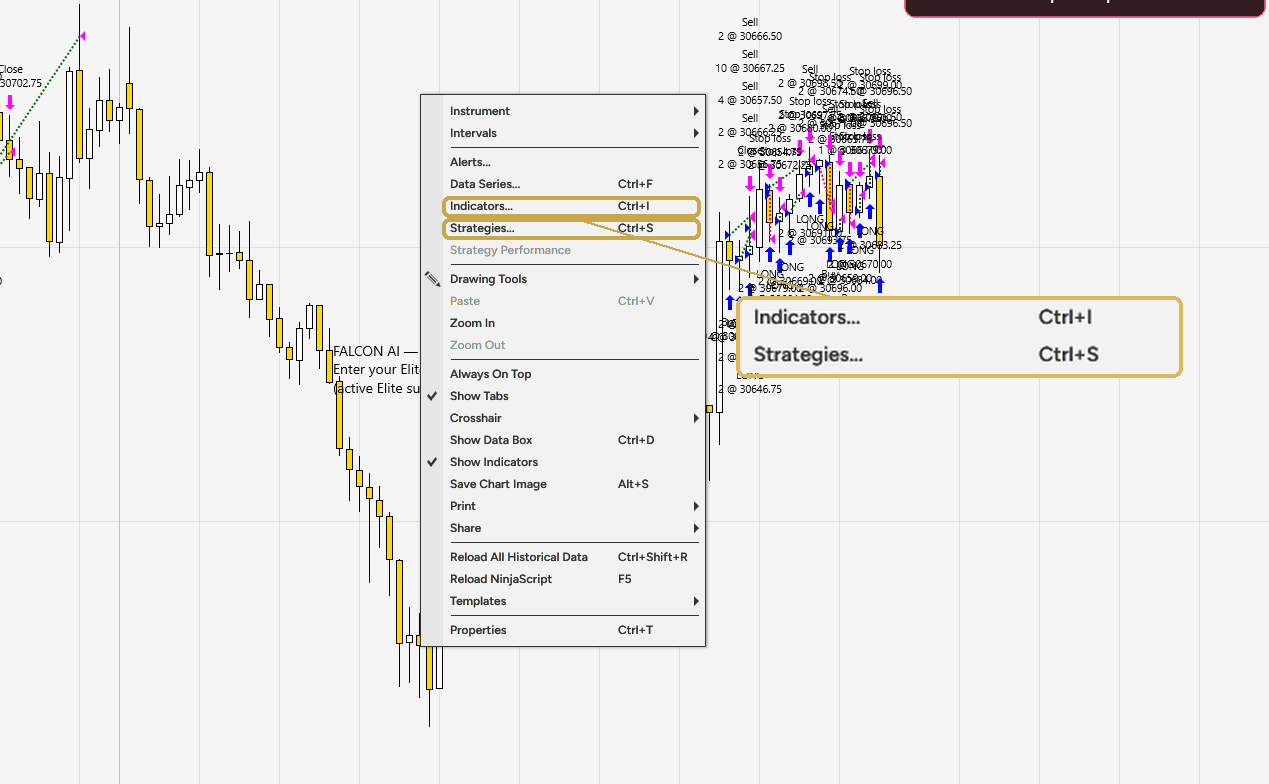
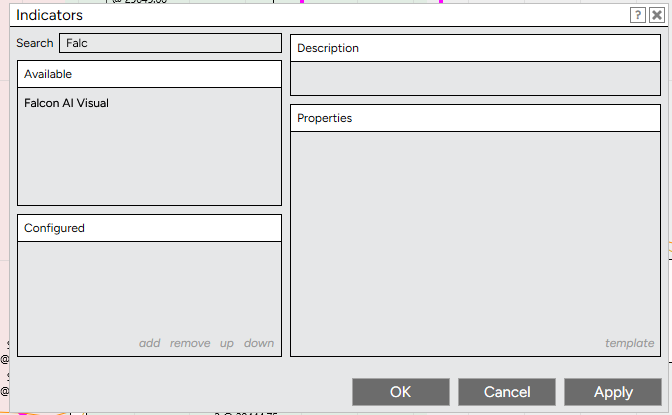
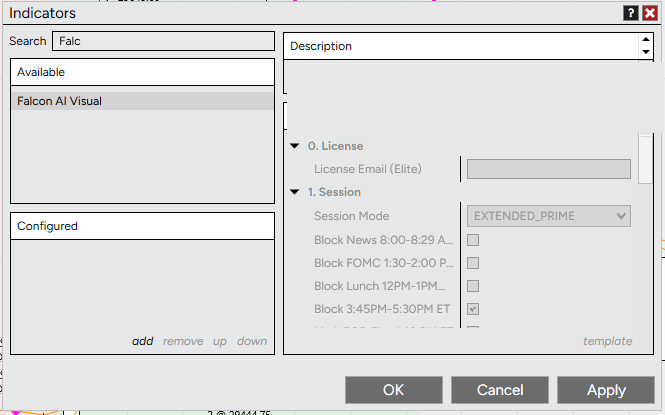
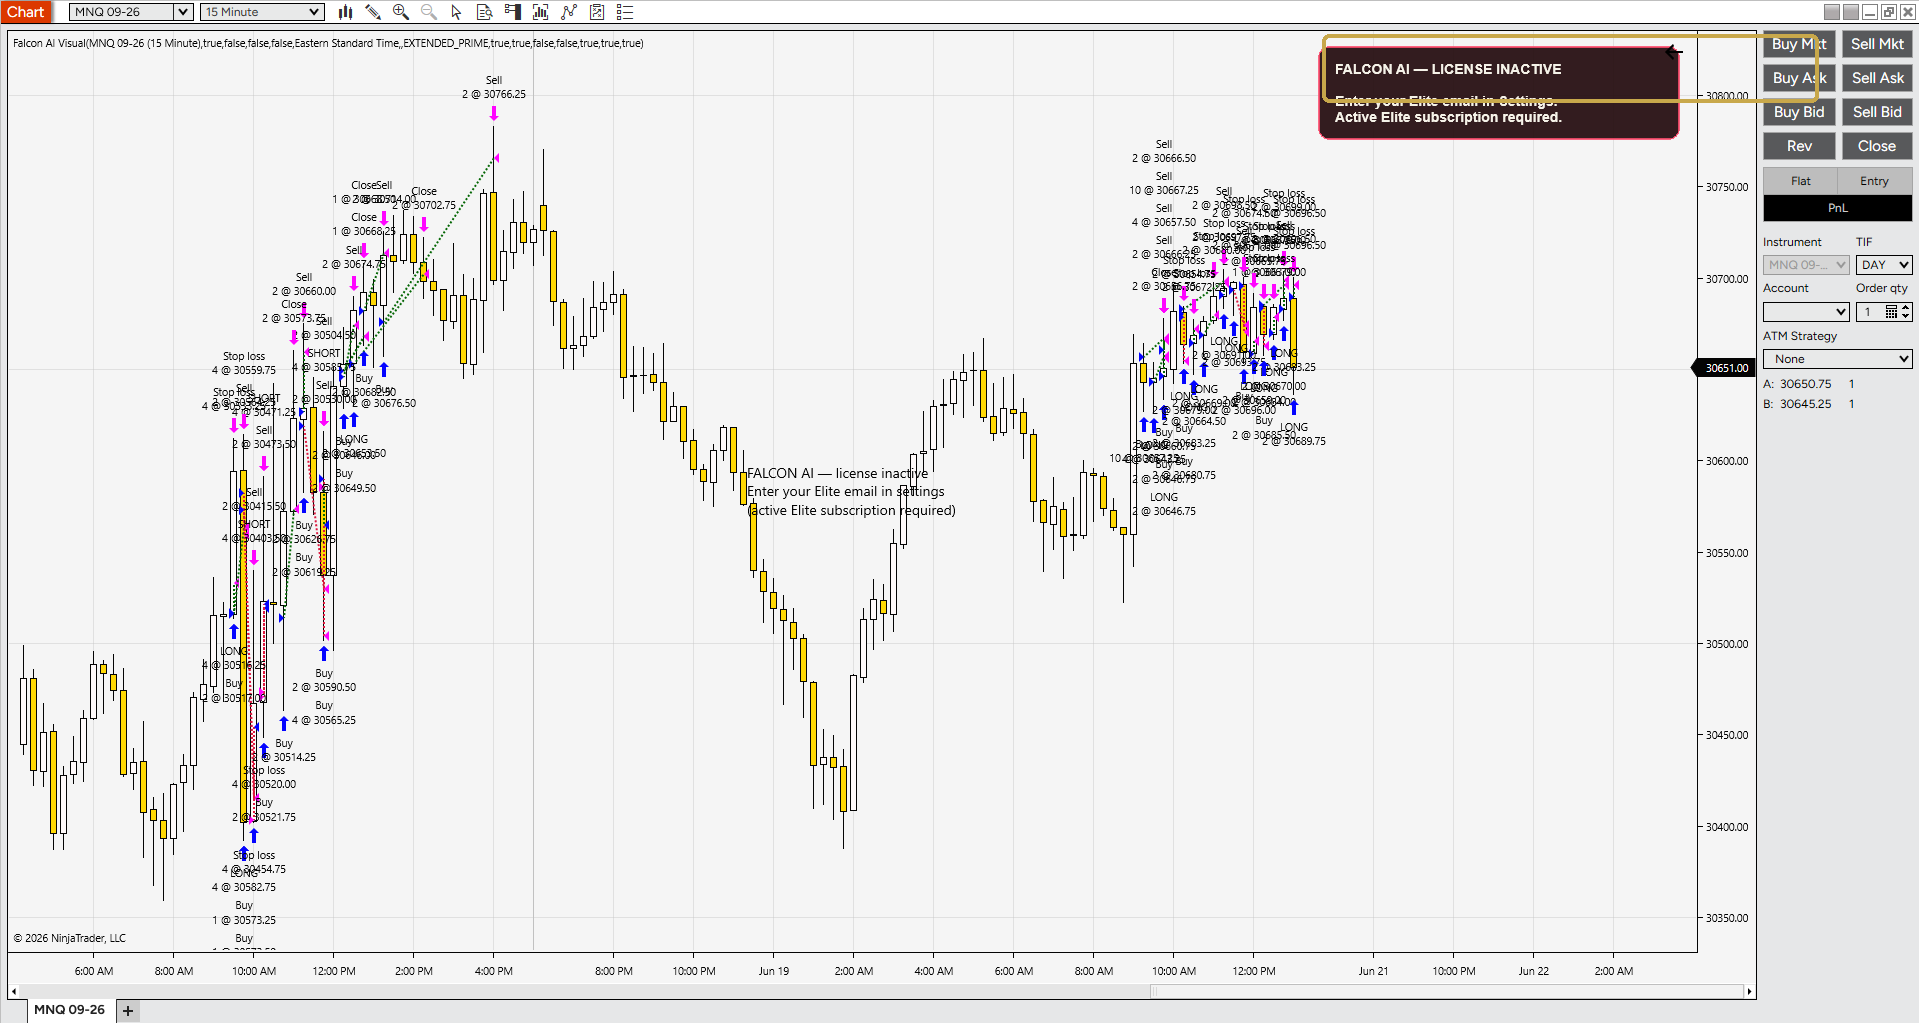
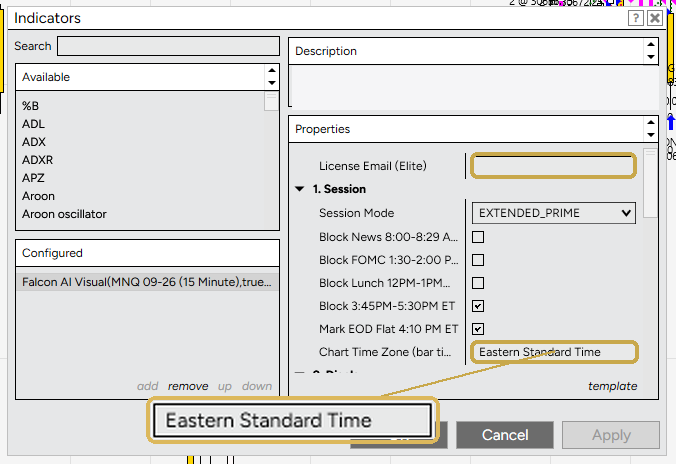
Falcon's sessions (PRIME / EXTENDED / GOLDEN, plus the news / lunch / FOMC blocks) all run on New York (Eastern) time. If you live in Central, Pacific, or anywhere else, you must leave Chart Time Zone = Eastern Standard Time — otherwise every session shifts and signals fire at the wrong clock times. Set it in both the indicator (step 7) and the strategy (step 8).
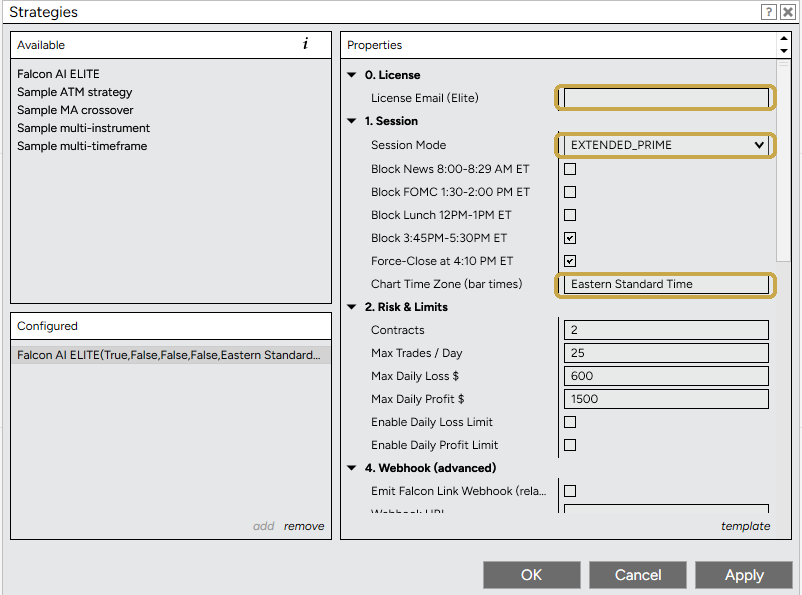
Falcon now sizes every trade for you automatically — it scales your position down in fast, volatile conditions to protect your account, and runs standard size when things are clean. It's built in; there's nothing to set.
To trade more contracts on a bigger account, use the MNQ Multiplier in the strategy properties: leave it at 1 for standard size, or set 2 / 3 / 4… to scale up proportionally — the same volatility protection applies at every level. Match it to your account, and don't set it higher than your account can comfortably handle. (MNQ only — other markets use the Contracts field.)
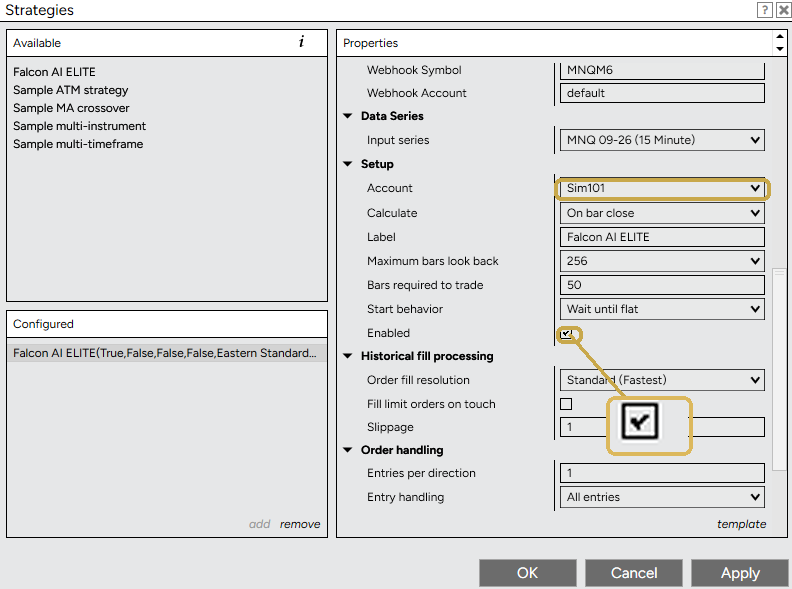 BEFORE YOU GO LIVE
Falcon AI is operated by Falcon AI LLC (Florida, USA) and provides educational trading tools — NOT financial advice, and is not a registered investment adviser, broker-dealer, or NFA member. NinjaTrader and Tradovate are third-party platforms with their own subscriptions and terms. Futures trading involves substantial risk of loss and is not suitable for everyone.
The dead-simple, screenshot-by-screenshot walkthrough — from a blank chart to fully automated trades. Works for every tier, and for members who'd rather run on TradingView than NinjaTrader. Never traded before? Every new term is explained right where you need it.
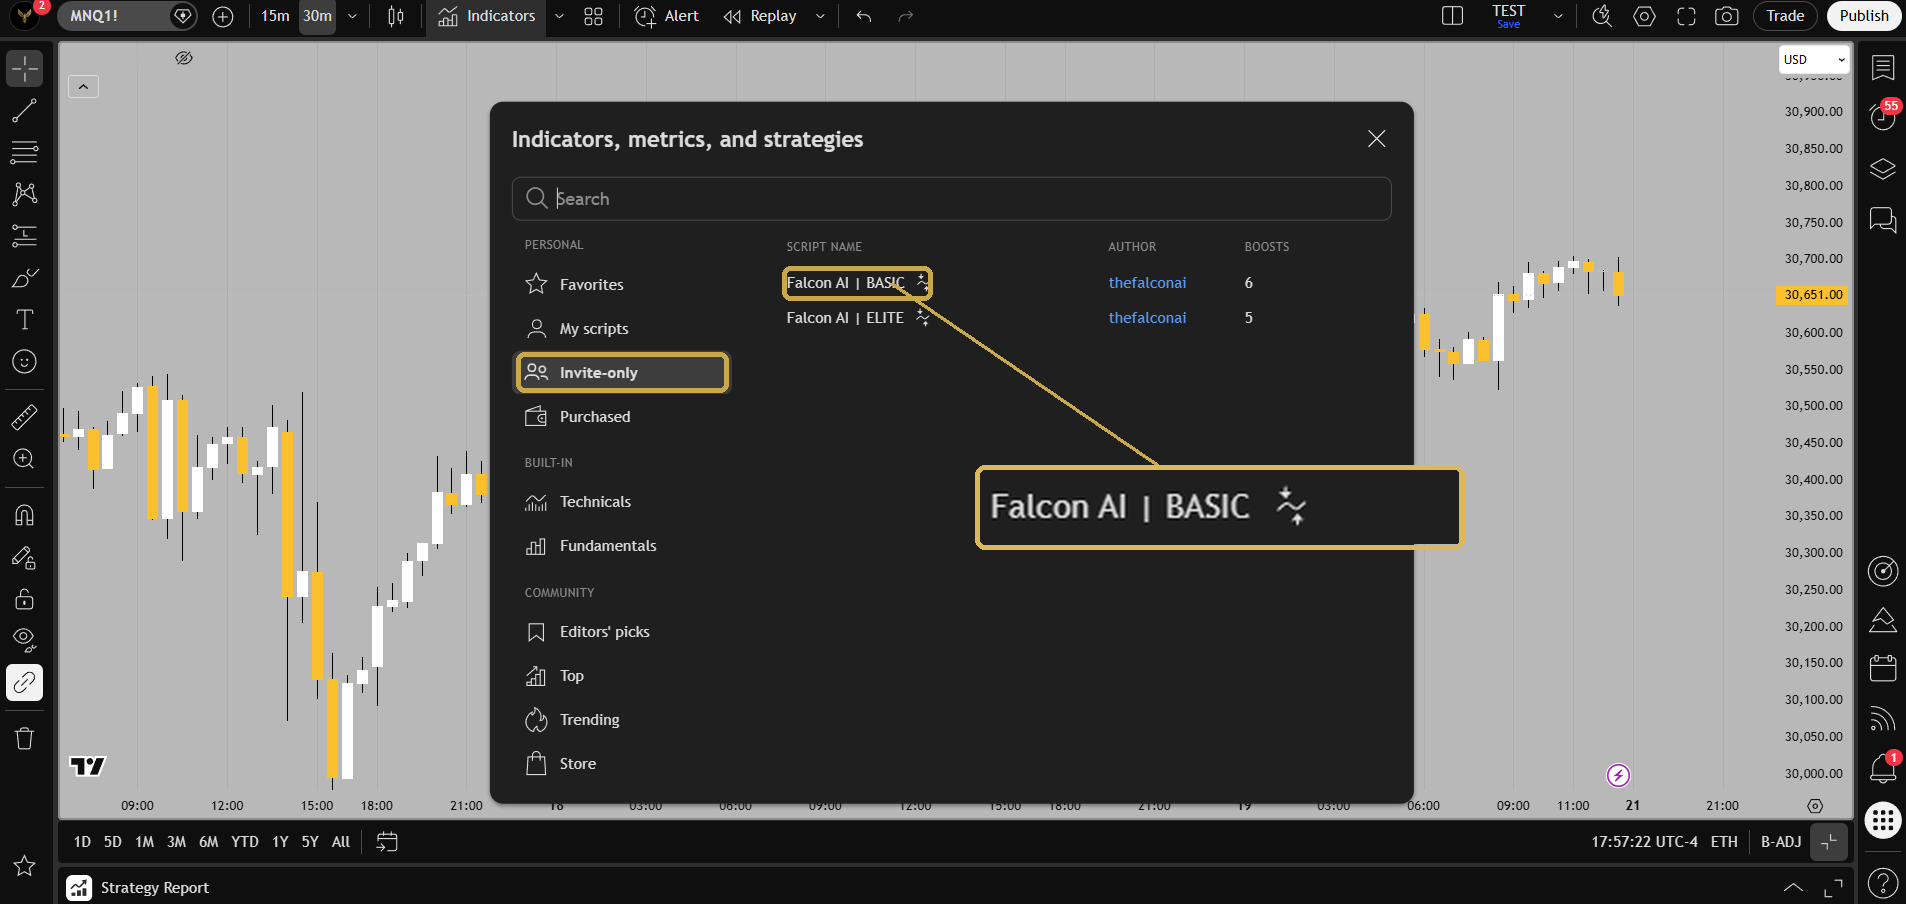
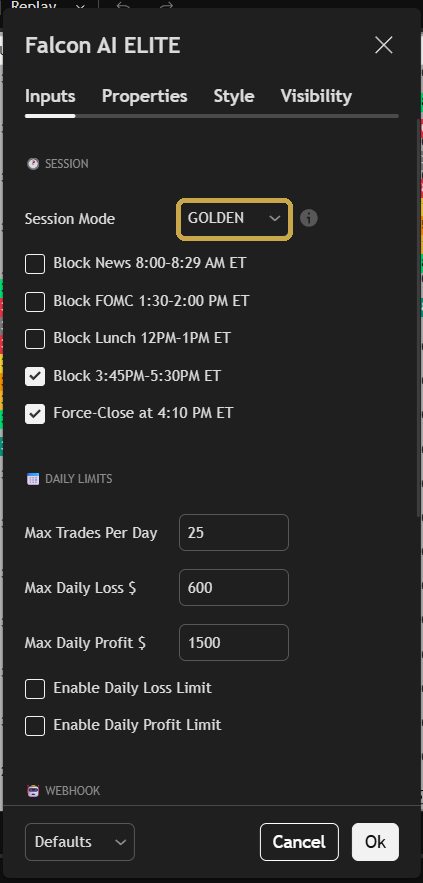
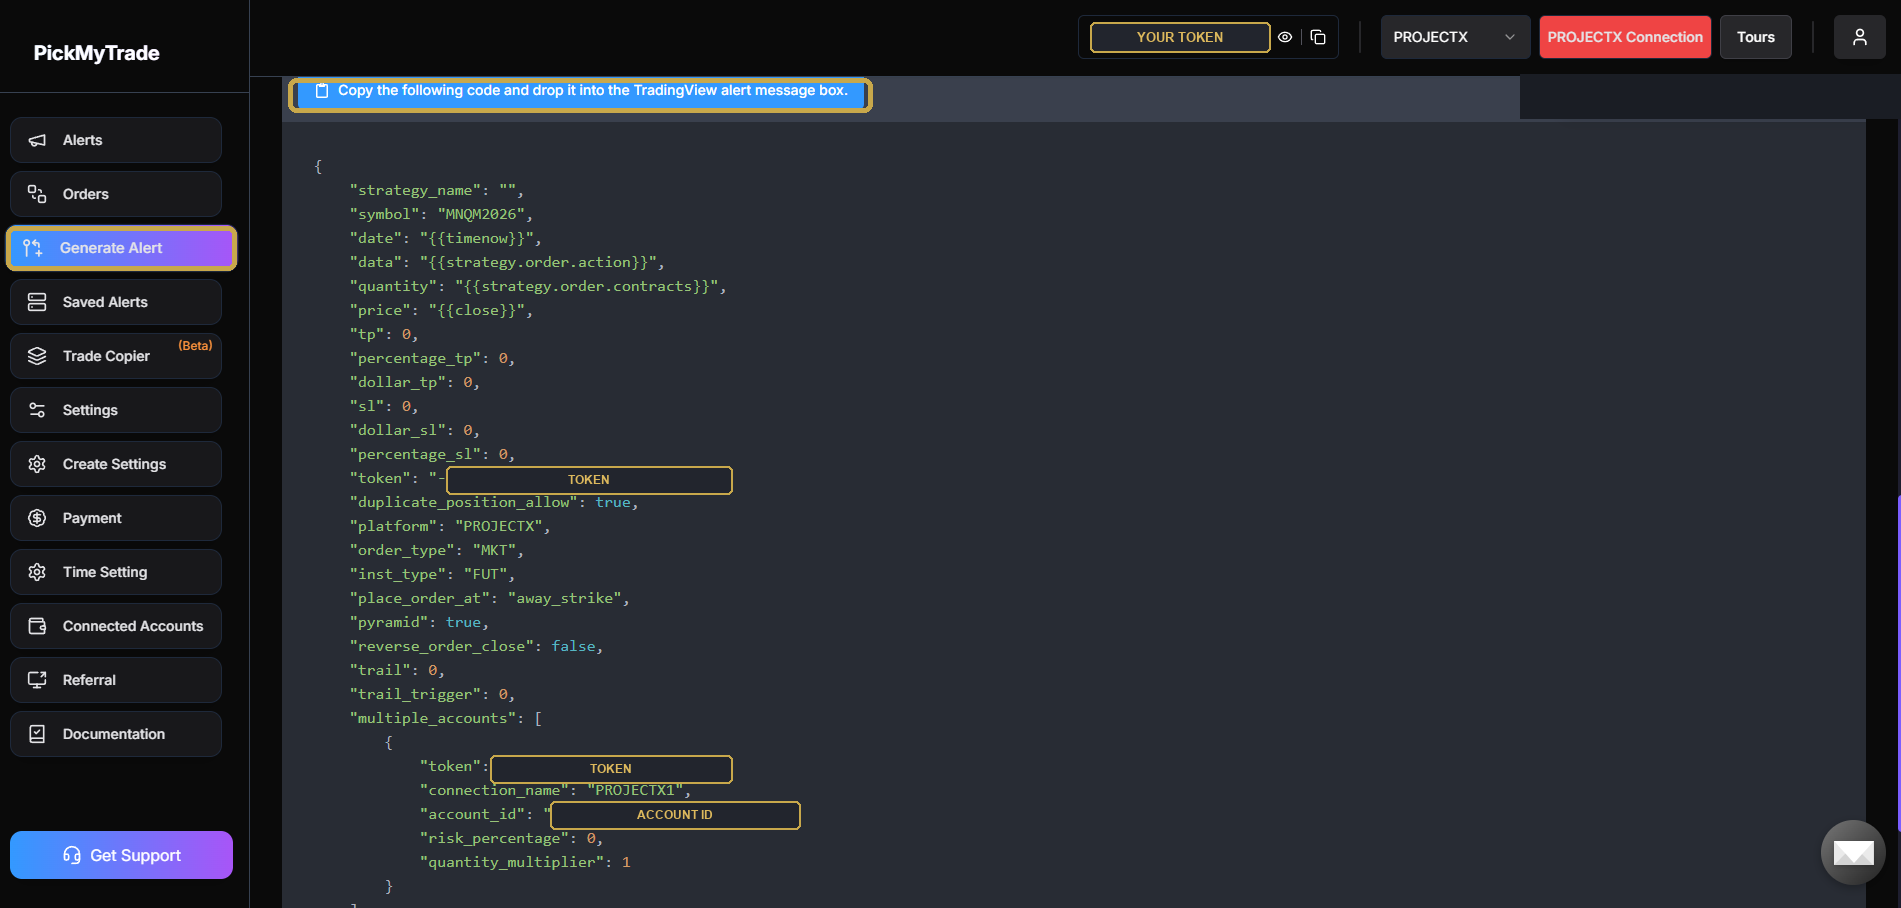
Falcon now sizes every trade for you automatically — scaling position size down in fast, volatile conditions to protect your account. It's built in; nothing to set. To trade more contracts on a bigger account, set the MNQ Multiplier in the indicator settings: 1 = standard size; 2 / 3 / 4… scale up proportionally with the same volatility protection (the multiplier carries through to your alert quantity, so PickMyTrade sizes accordingly). Match it to your account; don't set it higher than you can comfortably handle. (MNQ only — other markets use the Contracts field.)
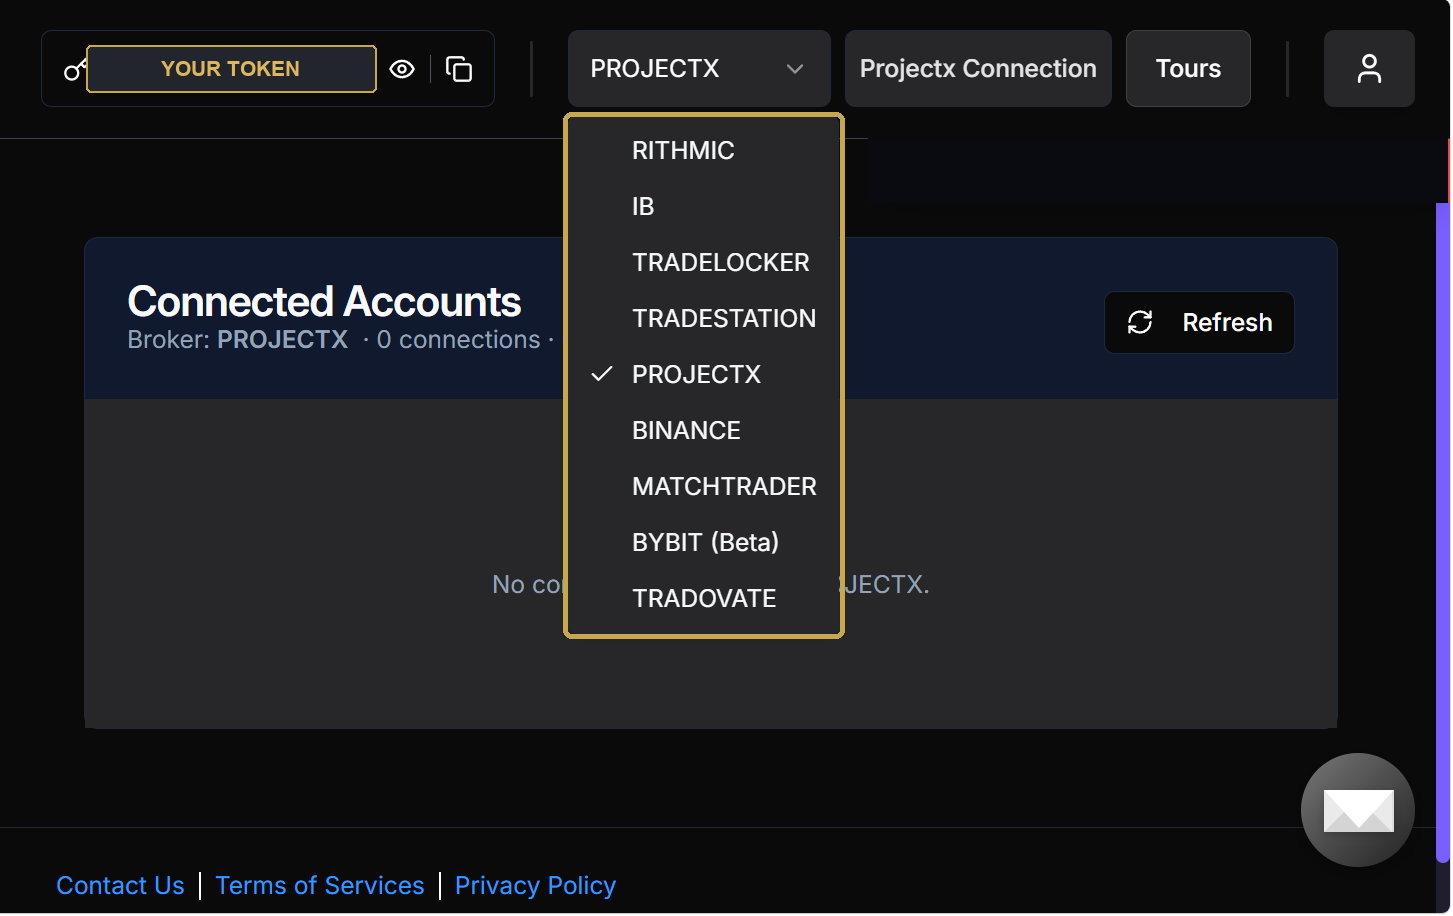
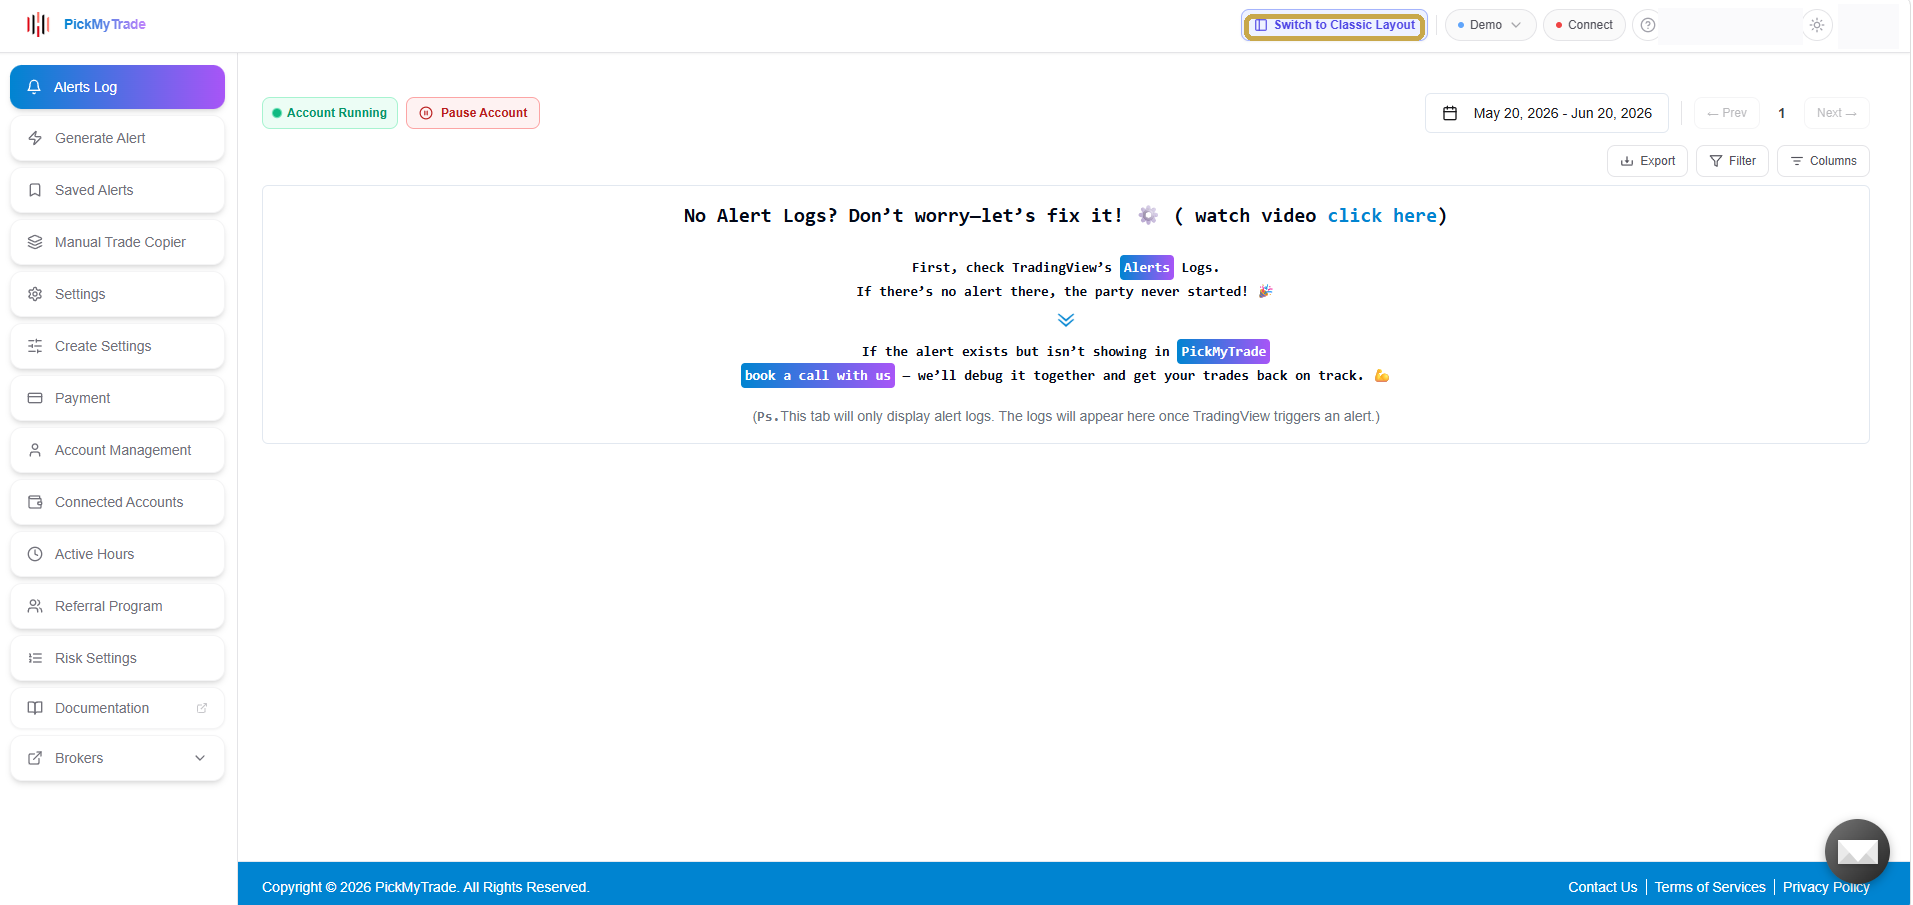
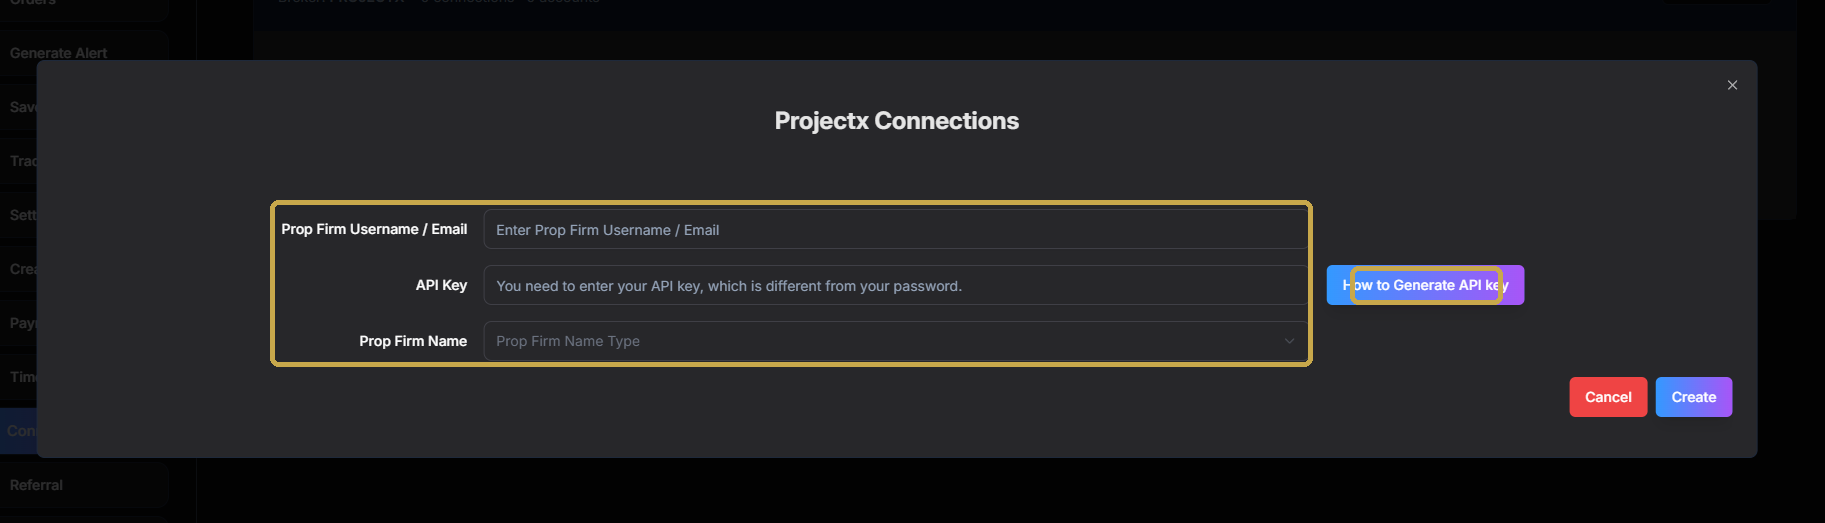
These two need a separate PickMyTrade plan. Tradovate runs on pickmytrade.trade (~$50/mo, its own account) and opens a different "classic" layout to log in. ProjectX, Rithmic, IB, TradeLocker & TradeStation run on pickmytrade.io. Need both Tradovate and one of the others? You'll need two PickMyTrade accounts.
 BEFORE YOU GO LIVE
Falcon AI is operated by Falcon AI LLC (Florida, USA) and provides educational trading tools — NOT financial advice, and is not a registered investment adviser, broker-dealer, or NFA member. PickMyTrade and TradingView are third-party services with their own subscriptions and terms. Futures trading involves substantial risk of loss and is not suitable for everyone.